.....Read More
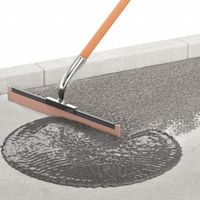
Asphalt Hand Tools
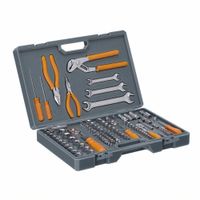
Assorted Tool Sets & Kits
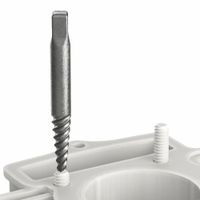
Bolt & Screw Extractor Tools
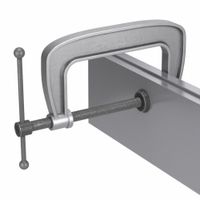
Clamps
Concrete & Masonry Hand Tools
Drain Cleaning & Plumbing Hand Tools
Drywall Trowels, Tapers & Mud Pans
Electrical & Data Hand Tools
Files
Flooring, Tile & Carpet Hand Tools
Hammers
Hand Nailers, Staplers & Riveting Tools
Hand Saws & Blades
Hand Tool Replacement Parts
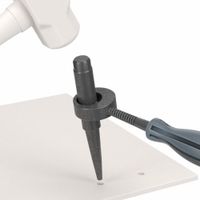
Inspection & Retrieval Tools

Knives & Blades
Multi-Tools
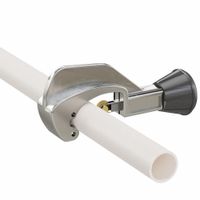
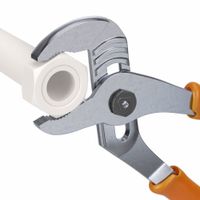
Pipe, Hose & Conduit Hand Tools
Pliers
Pryers & Pullers
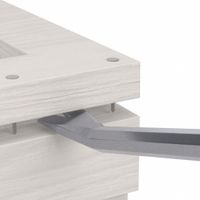
Punching Tools & Chisels
Ratchets & Drive Tools
Scissors, Snips & Cutting Tools
Scrapers & Compound Spreading Hand Tools
Screwdrivers, Nut Drivers & Keys

Sheet Metal Folders & Crimpers
Vises & Anvils
Wire Rope Swaging Tools
Wrenches
Frequently Asked Questions
What are the essential hand tools for home maintenance?
How do you properly maintain and care for hand tools?
What is the difference between a wrench and a ratchet?
How do you choose the right screwdriver for a task?
What safety precautions should be taken when using hand tools?
How do you sharpen and maintain cutting tools like knives and scissors?
What are the different types of pliers and their uses?
How do you use a hammer correctly to avoid damage or injury?
What are the best practices for using a hand saw effectively?
How do you select the right file for smoothing and shaping materials?