.....Read More
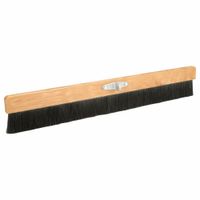
Concrete Brooms & Masonry Brushes
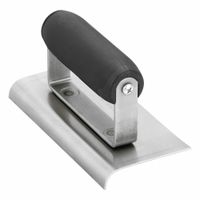
Concrete Edgers, Groovers & Step Tools
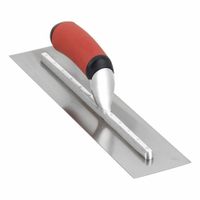
Concrete Finishing Trowels
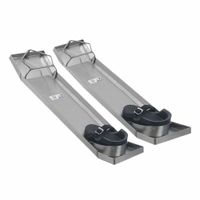
Concrete Kneeboards
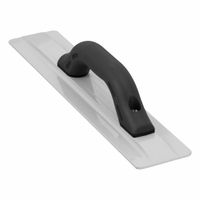
Concrete Leveling Floats
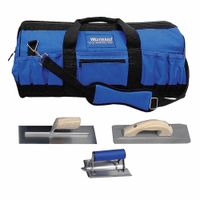
Concrete & Masonry Tool Kits
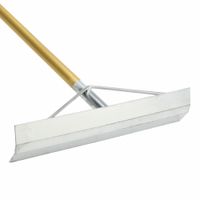
Concrete Placers & Mortar Hoes
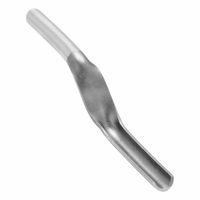
Masonry Jointers
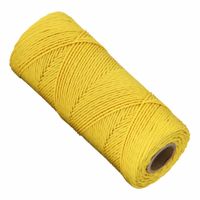
Masonry Leveling Line & Tongs
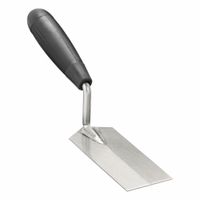
Masonry Trowels
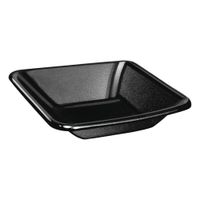
Mortar Pans, Stands & Bucket Scoops
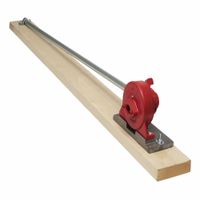
Rebar Forming & Stake Setting Tools
Frequently Asked Questions
What are the essential hand tools for concrete and masonry work?
How do you properly use a concrete finishing trowel?
What is the purpose of a concrete edger and groover?
How do you tie and cut rebar for concrete reinforcement?
What techniques are used for leveling and finishing concrete surfaces?
How do you maintain and clean masonry tools?
What safety precautions should be taken when working with concrete and masonry tools?