.....Read More
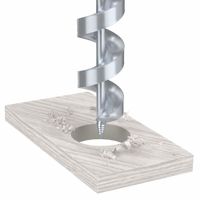
Auger Drill Bits for Aggressive Drilling
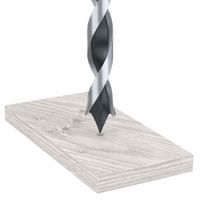
Brad-Point Drill Bits for Smooth Finish
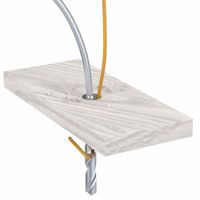
Cable Drill Bits for Wire Systems
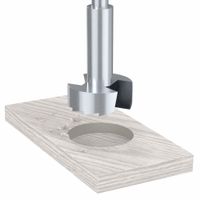
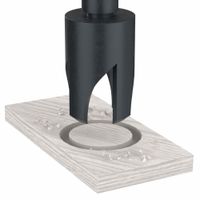
Forstner Drill Bits for Smooth Finish & Flat-Bottom Holes
Hybrid Utility Drill Bits for Fast Rough-In Cutting

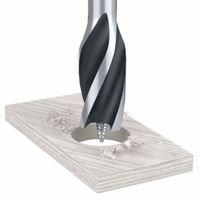
Mortise Drill Bits for European-Style Hinges
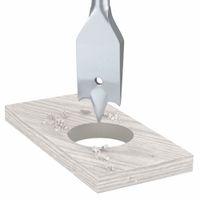
Plug-Cutting Drill Bits for Concealing Fasteners
Quick-Cutting Spade Drill Bits

Self-Feed Drill Bits for Boring
Frequently Asked Questions
What are the best drill bits for wood?
How do I choose the right size drill bit for wood?
Can I use metal drill bits on wood?
What is the difference between spade bits and auger bits?
How do I sharpen wood drill bits?
What is the best way to prevent wood from splintering when drilling?
How do I drill a straight hole in wood without a drill press?