.....Read More
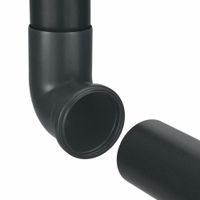
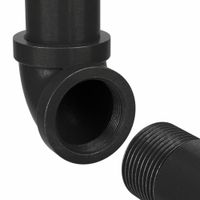
ABS Pipe Systems
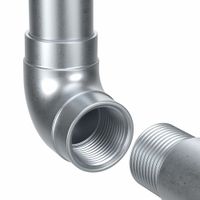
Aluminum Pipe Systems
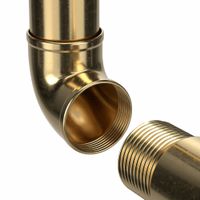
Brass & Bronze Pipe Systems
CPVC Pipe Systems
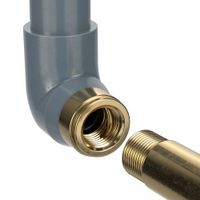
Pipe Fittings for Dissimilar Materials
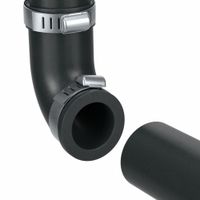
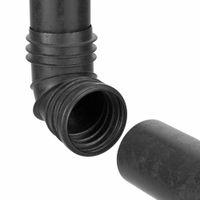
Plastic & Rubber Flexible Pipe Fittings
Polyethylene Pipe Systems

Polypropylene Pipe Systems
Polyvinylidene Pipe Systems
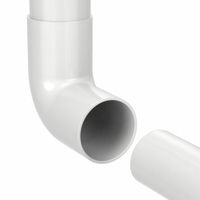
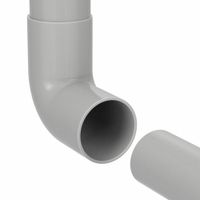
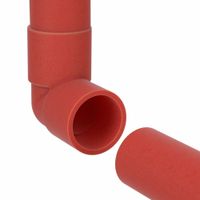
PVC Pipe Systems
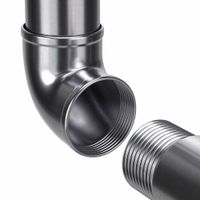
Stainless Steel Pipe Systems
Steel & Iron Pipe Systems
Frequently Asked Questions
What are the different types of pipe materials and their uses?
How do I choose the right pipe size for my application?
What are the common types of pipe fittings and their functions?
How do I determine the pressure rating for pipes and fittings?
What are the installation guidelines for pipes and fittings?
How do I prevent corrosion in pipes and fittings?
What are the safety considerations when working with pipes and fittings?