.....Read More
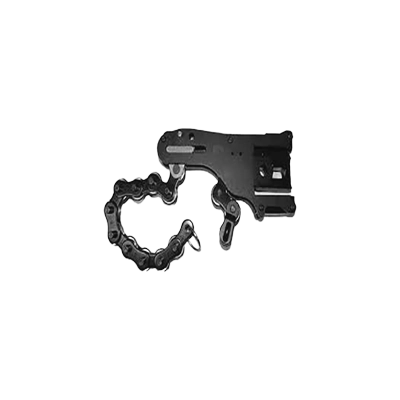
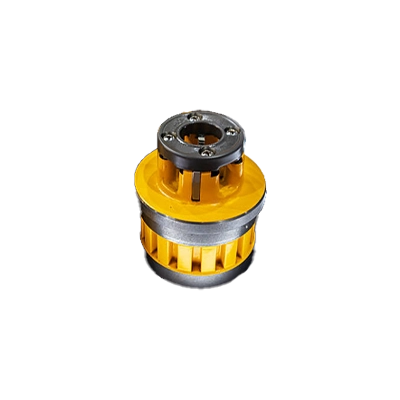
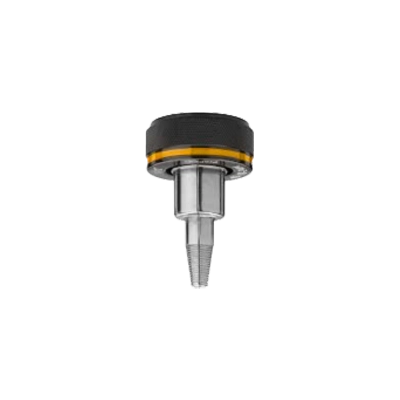
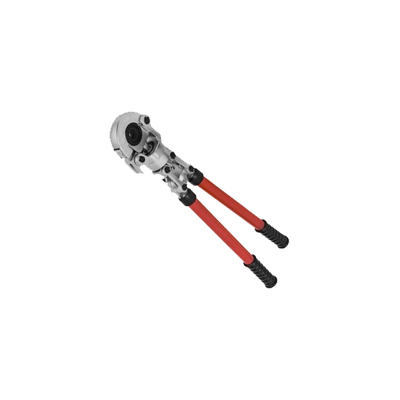
Actuators for Press Fitting Tools
Cordless PEX Expansion Tools
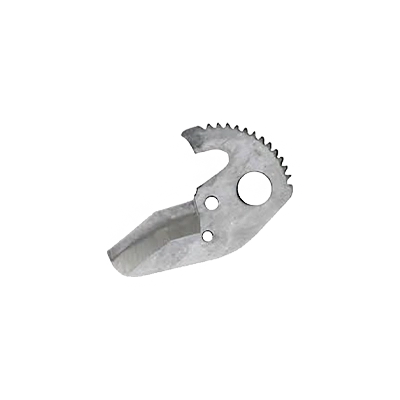
Cordless Pipe & Tubing Cutters
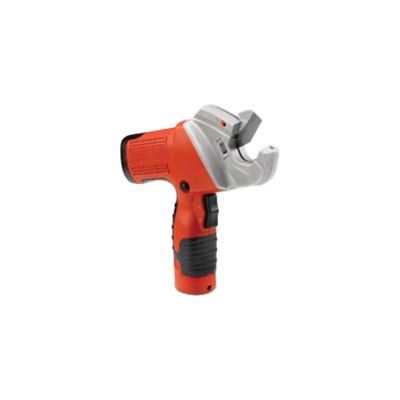
Cutters & Power Adapters for Press Fitting Tools
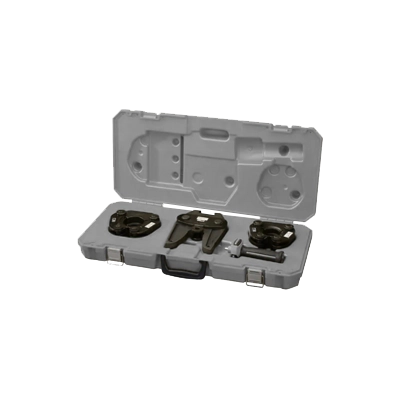
Die Heads for Manual & Handheld Power Pipe Threaders
Die Heads for Pipe Threading Machines
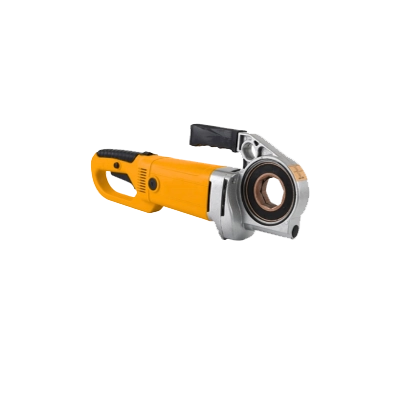
Handheld Power Pipe Threaders
Jaw & Ring Sets for Press Fitting Tools
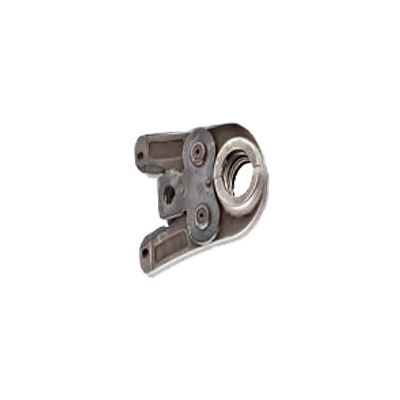
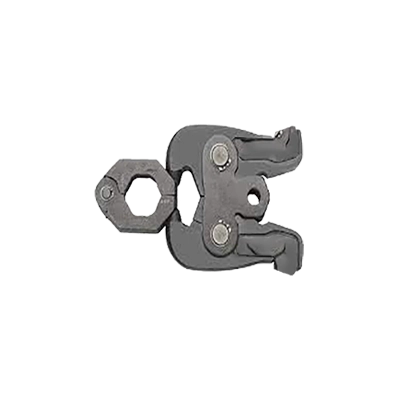
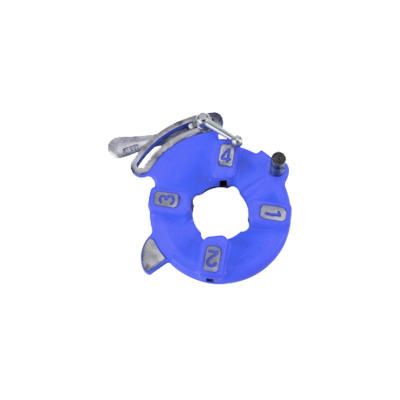
Jaws & Rings for Press Fitting Tools
PEX Expansion Heads & Grease
Pipe Cutting Accessories & Replacement Parts
Pipe Reamer Drill Attachments

Pipe Threading Accessories
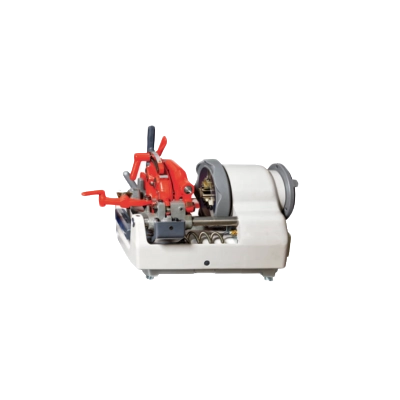
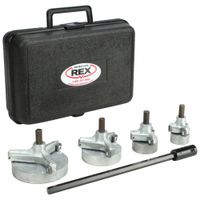
Pipe Threading Machines
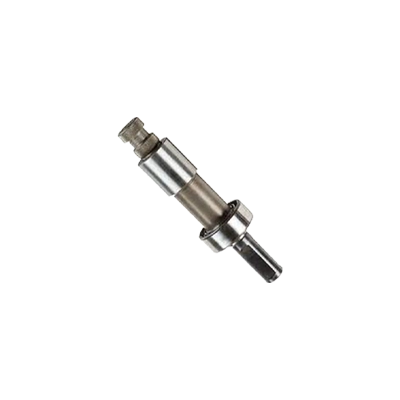
Pipe Threading Replacement Parts

Pipe & Tube Cutting Machines
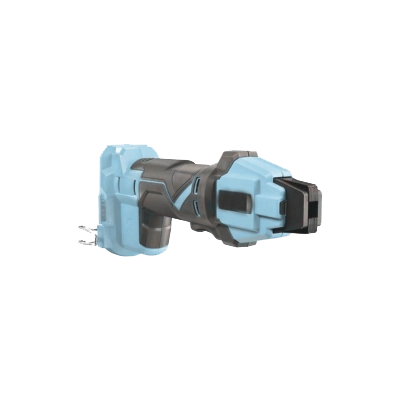
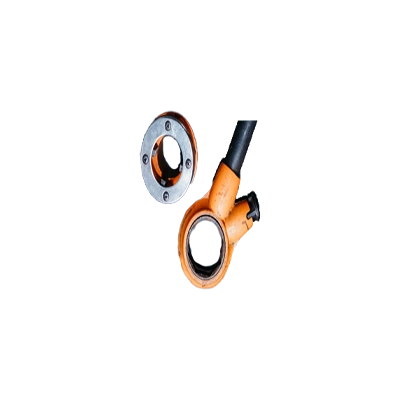
Press Fitting Tools
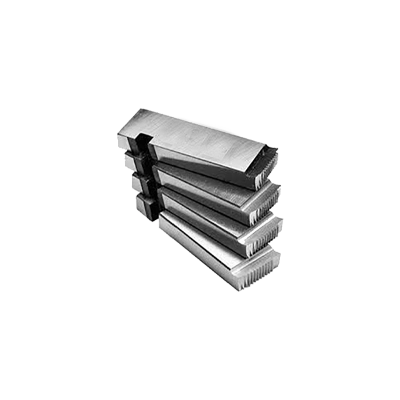
Replacement Dies for Pipe Threading
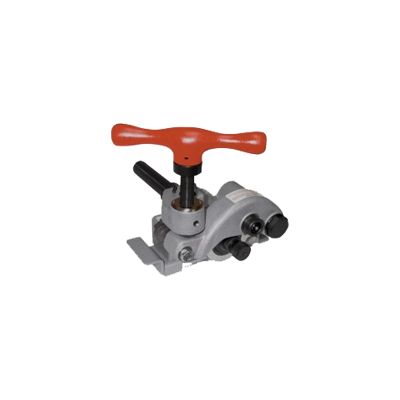
Replacement Parts for Roll Groovers
Roll Groovers
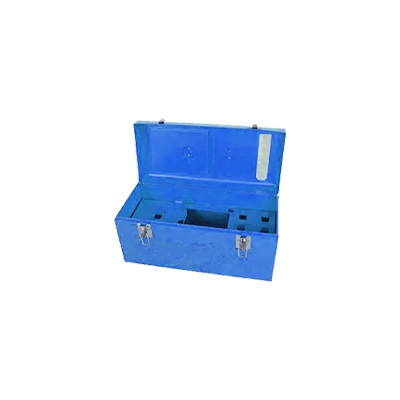
Roll Sets & Tool Boxes for Roll Groovers
Frequently Asked Questions
What are the best tools for cutting and preparing pipes for installation?
How do pipe reamer drill attachments work for removing broken plastic pipes?
What is the process for using pipe threading power tools to cut or repair threads?
How do press fitting tools differ from traditional welding or brazing methods?
What are the advantages of using pipe grooving tools for pipe installation?
How do you properly use pipe cutting tools to ensure a clean cut?
What is the procedure for using PEX expanders on PEX type A tubing?