.....Read More
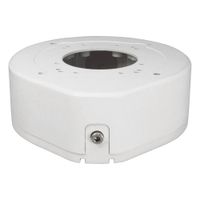
Surveillance System Housings, Mounts, and Brackets
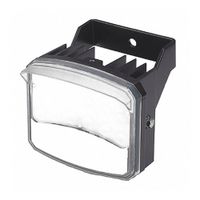
Video Camera Illuminators
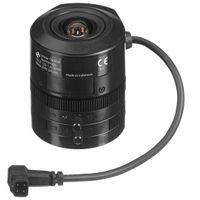
Video Camera Lenses
Video Surveillance Accessories

Video Surveillance Enclosures
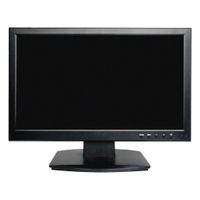
Video Surveillance Monitors
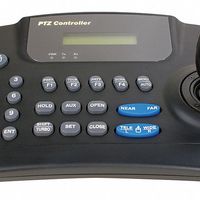
Video Surveillance Pan and Tilt Controllers
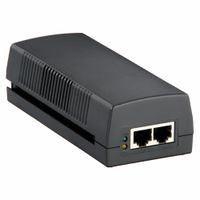
Video Surveillance Power Over Ethernet Devices
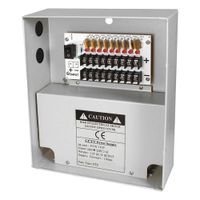
Video Surveillance Power Supplies
Video Surveillance Recording Devices
Video Surveillance Testers
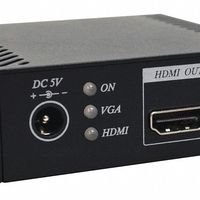
Video Surveillance Transmitters and Receivers
Frequently Asked Questions
What are the essential accessories for a video surveillance system?
How do video surveillance transmitters and receivers work?
What is the purpose of a video surveillance tester?
How do I choose the right power supply for my video surveillance system?
What factors should I consider when selecting a video camera lens?
How can I improve video surveillance in low-light conditions?
What are the benefits of using Power over Ethernet (PoE) for video surveillance?