.....Read More
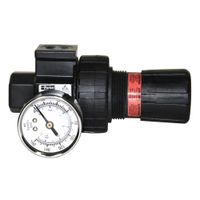
Compressed Air Treatment for Blasting Cabinets
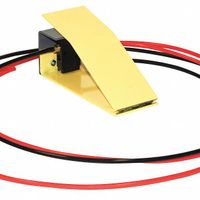
Foot Pedals & Controls for Blasting Cabinets
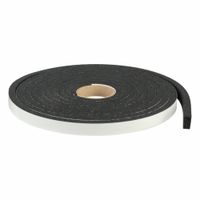
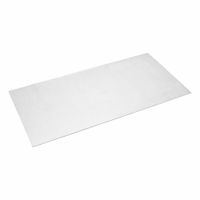
Gaskets for Blasting Cabinets
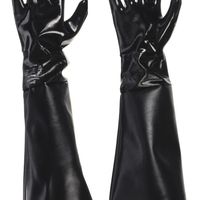
Gloves for Blasting Cabinets
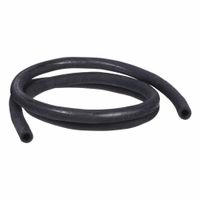
Hoses & Hose Fittings for Blasting Cabinets
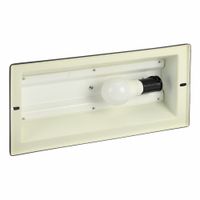
Lighting for Blasting Cabinets
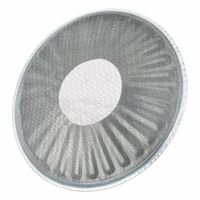
Media Delivery Components for Blasting Cabinets
Window & Door Components for Blasting Cabinets
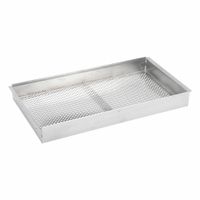
Work Area Components for Blasting Cabinets
Frequently Asked Questions
What are the essential parts of a blasting cabinet?
How do I replace the gloves on a blasting cabinet?
What type of nozzle should I use for my blasting cabinet?
How do I maintain the dust collector in a blasting cabinet?
What is the best way to repair a leaking blasting cabinet door?
How do I connect a new foot pedal to my blasting cabinet?
What accessories can improve the efficiency of my blasting cabinet?