.....Read More
Band Files
Belt Sanders
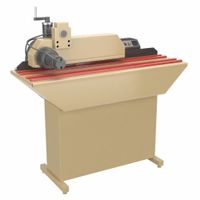
Drum Sanding Machines

Drywall Sanders
Dust Collection Accessories for Sanders
Edgebanders
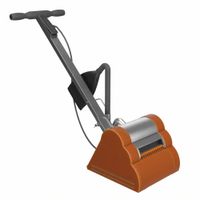
Floor Sanders & Accessories
Polishing & Buffing Power Tools
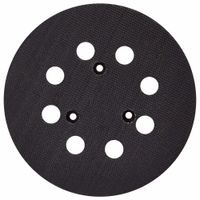
Replacement Backing Pads for Power Sanders
Replacement Parts for Sanding & Finishing Power Tools
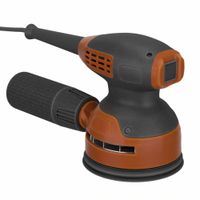
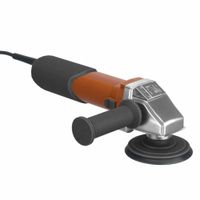
Rotary & Random Orbital Disc Sanders
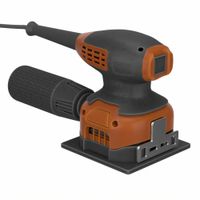
Sheet & Detail Sanders
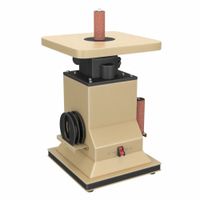
Spindle Sanding Machines
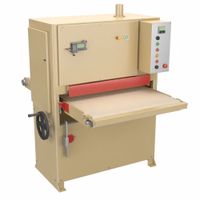
Wide Belt Sanding Machines
Frequently Asked Questions
What is the difference between a rotary sander and a random orbital sander?
How do I choose the right grit sandpaper for my project?
What safety precautions should I take when using a power sander?
How do I prevent swirl marks when sanding?
What is the best way to collect dust when sanding?
How do I maintain and clean my power sander?
Can I use a power sander on drywall?