.....Read More
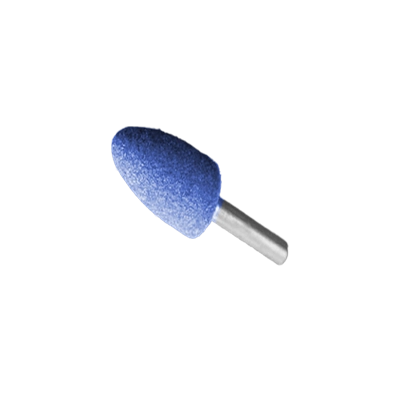
Abrasive Points for Rotary Tools
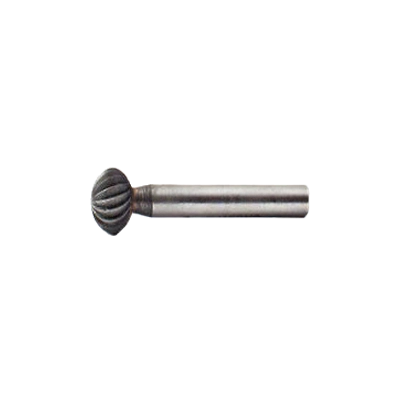
Carving & Engraving Bits for Rotary Tools
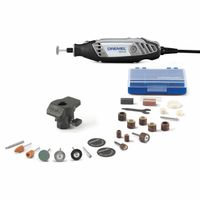
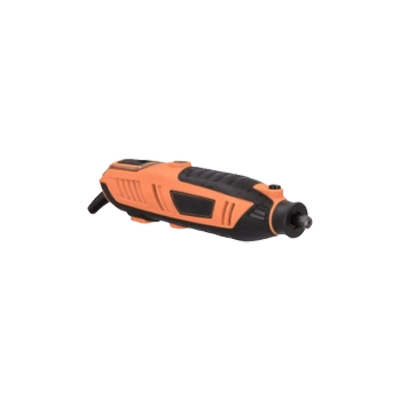
Corded Rotary Tools
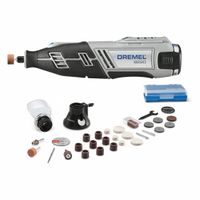
Cordless Rotary Tools
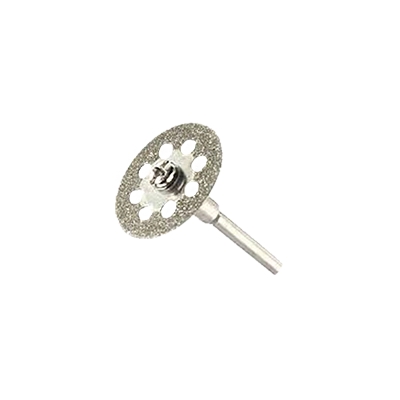
Cutting Wheels for Rotary Tools
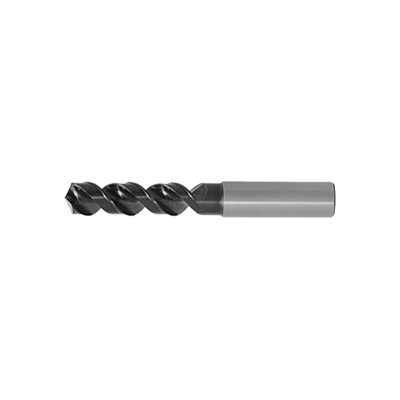
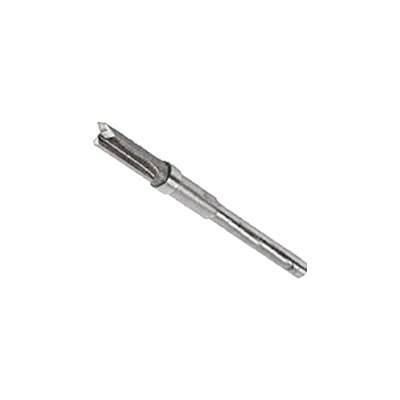
Drill Bits for Rotary Tools
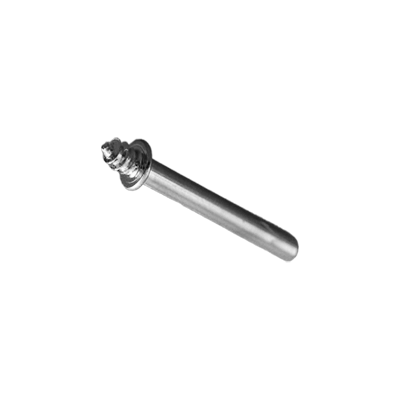
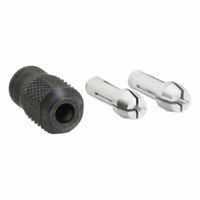
Mandrels, Collets & Chucks for Rotary Tools

Polishing Points & Pads for Rotary Tools
Replacement Parts for Rotary Tools
Rotary Tool Accessories

Rotary Tool Bit & Attachment Sets
Routing Bits for Rotary Tools
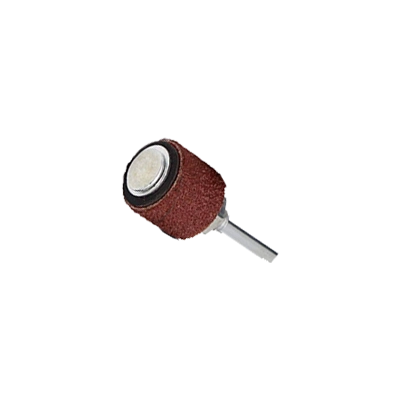
Sanding Discs & Drums for Rotary Tools
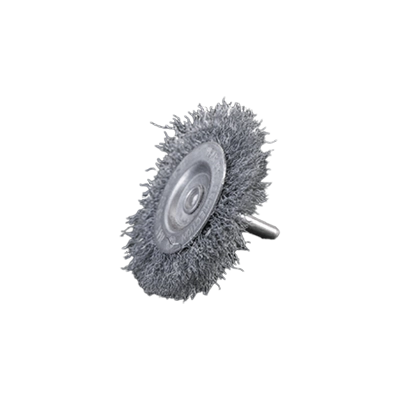
Wire Brushes for Rotary Tools
Frequently Asked Questions
What are rotary tools used for?
How do you change attachments on a rotary tool?
What safety precautions should be taken when using a rotary tool?
What is the difference between corded and cordless rotary tools?
How do you maintain a rotary tool?
What types of attachments are available for rotary tools?
How do you choose the right speed setting for a rotary tool task?