.....Read More
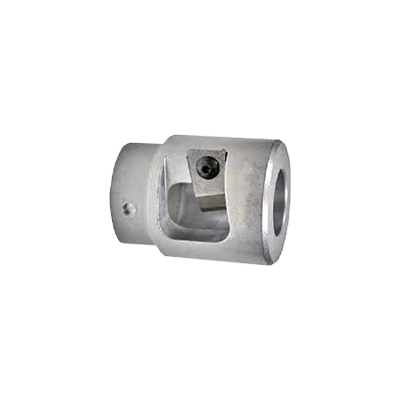
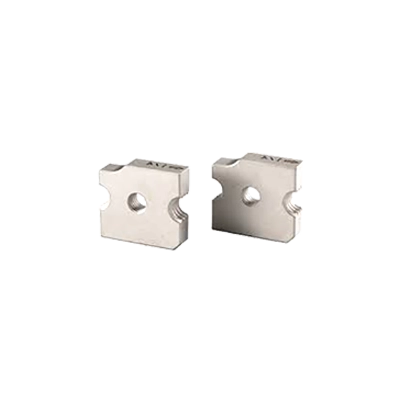
Cable Stripper Bushings
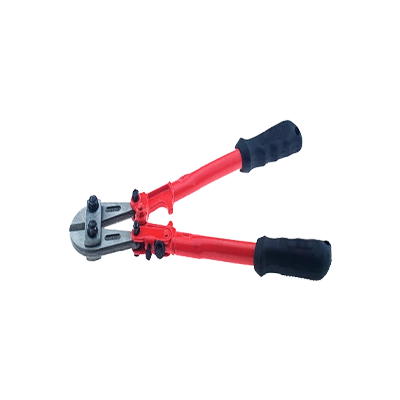
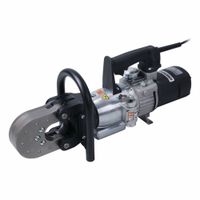
Cordless Bolt, Threaded Rod & Cable Tray Cutters
Cordless Cable Cutters
Cordless Cable Tie Tools
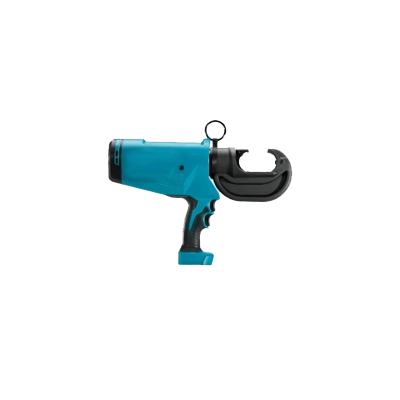
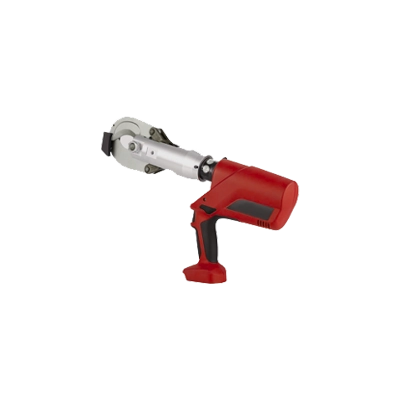
Cordless Crimpers
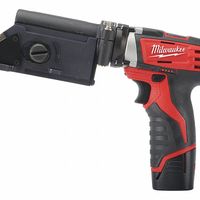
Cordless Wire & Cable Strippers
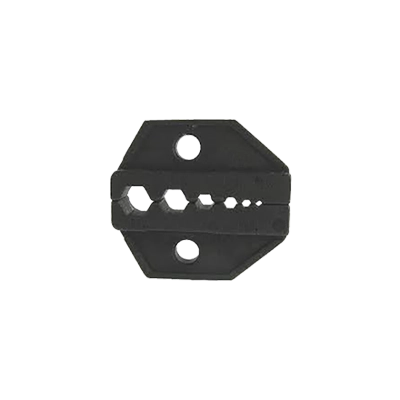
Jaws & Cutting Dies for Cordless Crimpers
Power Hydraulic Wire & Cable Cutters
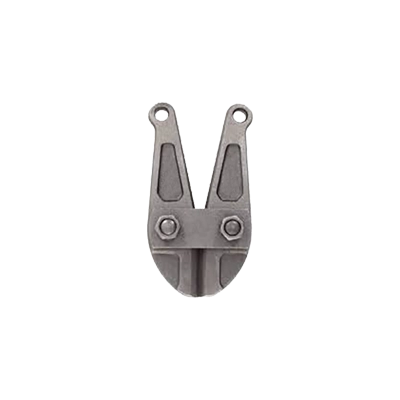
Replacement Blades for Cordless Bolt, Threaded Rod & Cable Tray Cutters
Replacement Jaws & Blades for Cable Cutters
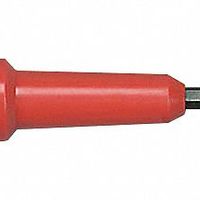
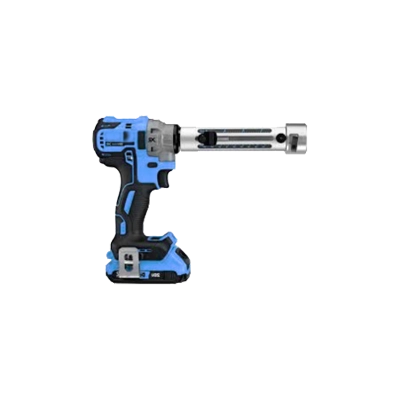
Twist-On Wire Connector Drill Attachments
Frequently Asked Questions
What are the best tools for cutting and stripping cables?
How do I choose the right crimping tool for my needs?
What is the difference between manual and automatic cable strippers?
How do I properly use a cable tie tool?
What safety precautions should I take when using cable cutting and crimping tools?
How do I maintain and care for my cable tools to ensure longevity?
Can I use the same tool for different types of cables and wires?