.....Read More
Air Guns, Vacuum Guns & Air Excavation Tools
Air Hose Tool Balancers
Air-Powered Concrete Vibrators
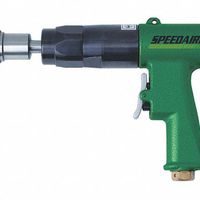
Air-Powered Drills & Drivers
Air-Powered Engravers & Accessories
Air-Powered Files
Air-Powered Grinders & Cut-Off Tools

Air-Powered Hammers & Chisels
Air-Powered Nail Guns, Staple Guns & Riveting Tools

Air-Powered Routers
Air-Powered Sanding & Finishing Tools
Air-Powered Saws
Air-Powered Scarifiers & Cutter Bundles
Air-Powered Shears & Nibblers
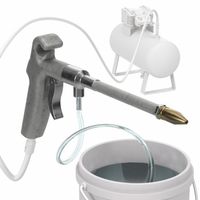
Air-Powered Siphon Spray Guns & Power Washers
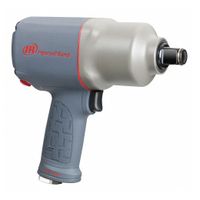
Air-Powered Wrenches & Ratchets
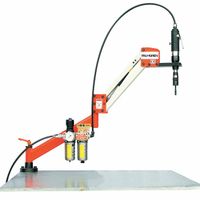
Air Tapping Arms
Air Tapping Tools
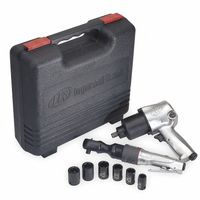
Air Tool Combination Kits

Air Tool Oil
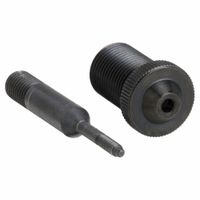
Air Tool Pneumatic Replacement Parts

Diggers, Breakers & Sand Rammers
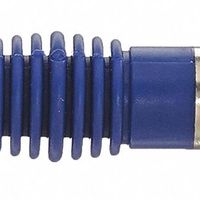
Flexible Air Fittings

Needle Scalers & Scaling Needles

Rock Drill Rods & Rod Tips

Torque Arms & Holders
Frequently Asked Questions
What are the advantages of using pneumatic tools over electric tools?
How do I maintain and care for pneumatic tools?
What size air compressor do I need for my pneumatic tools?
How do I troubleshoot common issues with pneumatic tools?
What safety precautions should I take when using pneumatic tools?
How do I choose the right pneumatic tool for my specific task?
Can pneumatic tools be used for both professional and DIY projects?
What are the most common applications for pneumatic tools?
How do I properly store pneumatic tools when not in use?
What are the differences between various types of pneumatic nailers?