.....Read More
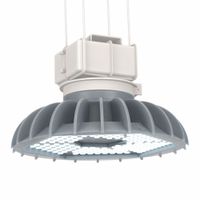
Bay Lights
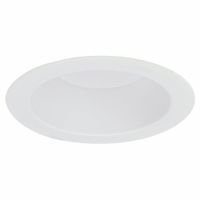
Can Lights & Downlights
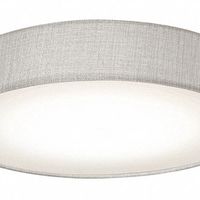
Decorative Lighting Fixtures
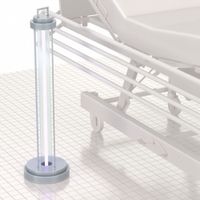
Disinfecting & Sanitizing UV Lights
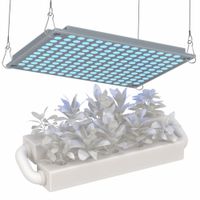
Grow Lights for Indoor Plants
Hazardous Location Lighting Fixtures
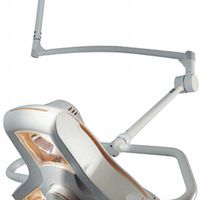
Healthcare Lighting
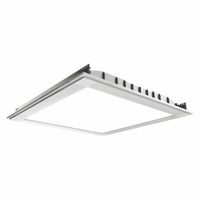
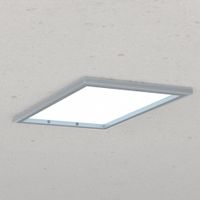
Panel & Troffer Light Fixtures
Retrofit Kits & LED Upgrade Kits
Surface Mount Light Fixtures
Track Lighting
Under-Cabinet & Accent Lighting
Vandal-Resistant & Confinement Lighting
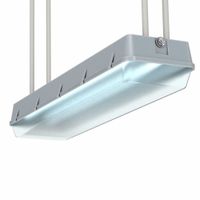
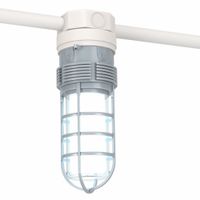
Vapor Tight Light Fixtures
Frequently Asked Questions
What are the benefits of using LED retrofit kits for lighting fixtures?
How do I choose the right lighting fixture for high ceilings?
What is the difference between bay lights and panel lights?
How do I install a retrofit kit in an existing fixture?
What are the best lighting options for grid ceilings?
How do I determine the appropriate lumens for my space?
What are the considerations for lighting in hazardous locations?
How do I maintain and clean lighting fixtures in dusty or damp locations?
What are the energy savings associated with LED lighting fixtures?
How do I select the right under-cabinet lighting for my kitchen?