Call +(254) 703 030 000 / 751 483 999 / 721 704 777
.....Read More
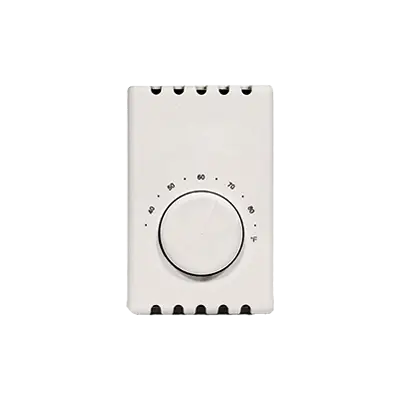
Nonprogrammable Line-Voltage Thermostats
Nonprogrammable Low-Voltage Thermostats
Plug-In Line-Voltage Thermostats
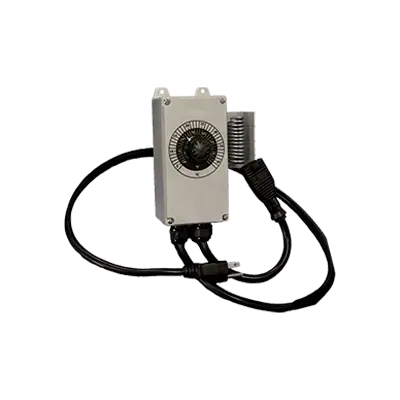
Programmable Line-Voltage Thermostats
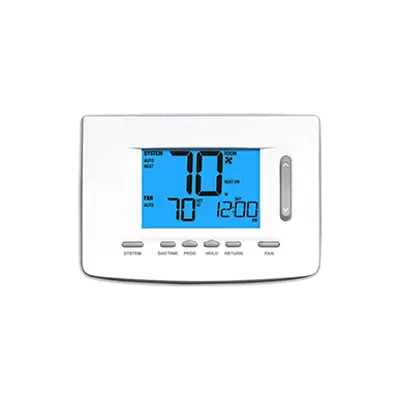
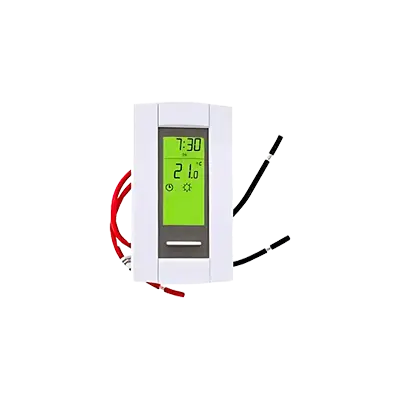
Programmable Low-Voltage Thermostats
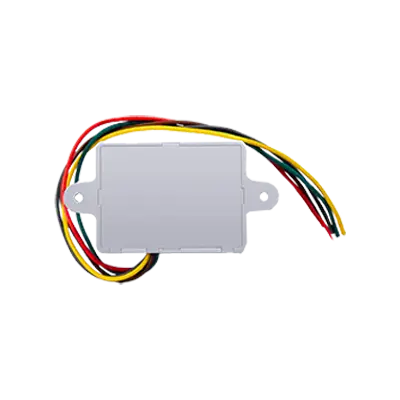
Thermostat Connectivity Accessories
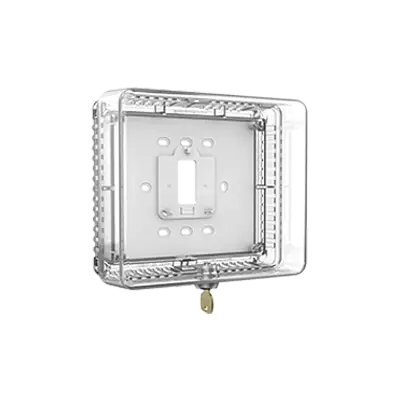
Thermostat Guards
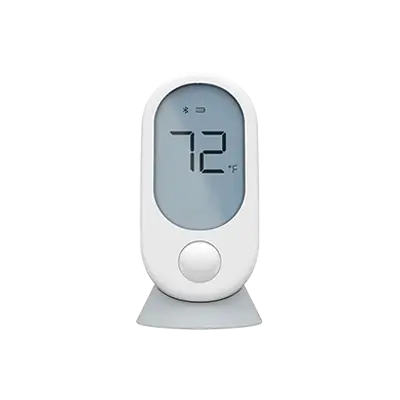
Thermostat Remote Sensors
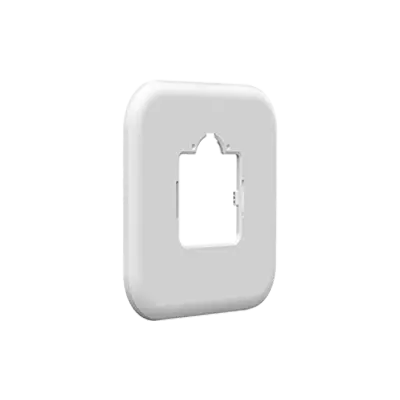
Thermostat Wall Cover Plates & Mounting Kits
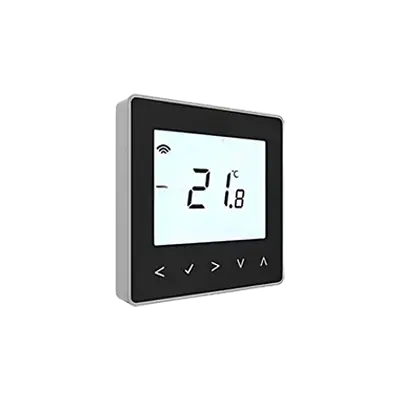
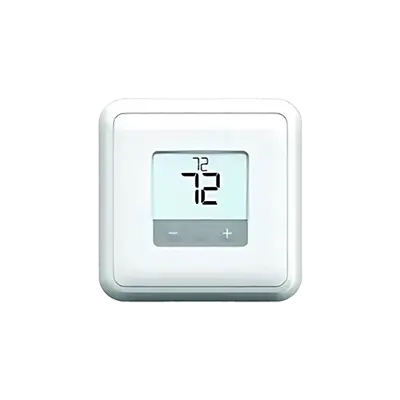
Wi-Fi Programmable Low-Voltage Thermostats
Frequently Asked Questions
How do room thermostats work?
A room thermostat is a device that regulates the temperature of a space by controlling the heating or cooling systems. It works by sensing the ambient temperature and comparing it to a pre-set desired temperature, known as the setpoint. When the ambient temperature deviates from the setpoint, the thermostat activates the heating or cooling system to adjust the temperature accordingly.
The basic components of a thermostat include a temperature sensor, a control unit, and a user interface. The temperature sensor, often a thermistor or a bimetallic strip, detects the current room temperature. The control unit processes this information and determines whether the heating or cooling system needs to be activated. The user interface allows the occupant to set the desired temperature.
In mechanical thermostats, a bimetallic strip made of two different metals expands or contracts with temperature changes, triggering a switch to turn the heating or cooling system on or off. In electronic thermostats, a thermistor changes its resistance with temperature, and this change is measured by a microcontroller, which then sends signals to control the HVAC system.
Modern digital and smart thermostats offer advanced features such as programmable settings, remote control via smartphone apps, and learning capabilities that adapt to user preferences over time. They may also include additional sensors for humidity and motion, optimizing energy efficiency and comfort.
By maintaining the desired temperature, thermostats contribute to energy efficiency, comfort, and cost savings. They prevent the heating or cooling system from running unnecessarily, thus reducing energy consumption and wear on the system.
What is the difference between line-voltage and low-voltage thermostats?
Line-voltage thermostats are used for controlling electric heating systems that operate on high voltage, typically 120 or 240 volts. They are directly connected to the power line and are commonly used with baseboard heaters, radiant heaters, and convectors. These thermostats switch the power on and off to the heating device, controlling the room temperature. They are generally simpler in design and less expensive but may not offer advanced features like programmability or connectivity.
Low-voltage thermostats, on the other hand, are used with central heating and cooling systems that operate on lower voltage, typically 24 volts. These systems include furnaces, heat pumps, and air conditioning units. Low-voltage thermostats are more versatile and can support a range of features such as programmable schedules, Wi-Fi connectivity, and integration with smart home systems. They work by sending signals to the HVAC system to adjust the temperature, rather than directly switching the power on and off.
The main differences between the two types of thermostats are the voltage they operate on and the types of heating or cooling systems they control. Line-voltage thermostats are suitable for high-voltage, electric-only systems, while low-voltage thermostats are designed for more complex, multi-component HVAC systems. Additionally, low-voltage thermostats often provide more precise temperature control and energy-saving features, making them a popular choice for modern homes.
How do I install a room thermostat?
1. **Turn Off Power**: Switch off the power to your heating system at the circuit breaker to ensure safety.
2. **Remove Old Thermostat**: Detach the cover of the existing thermostat. Unscrew and label the wires according to their terminal connections (e.g., R, W, Y, G). Remove the old thermostat from the wall.
3. **Install New Thermostat Base**: Position the new thermostat base on the wall. Use a level to ensure it is straight. Mark the mounting holes, drill pilot holes, and insert wall anchors if necessary. Feed the wires through the base and secure it to the wall with screws.
4. **Connect Wires**: Attach the labeled wires to the corresponding terminals on the new thermostat base. Ensure each wire is securely fastened. Common connections include:
- R (Red) - Power
- W (White) - Heat
- Y (Yellow) - Cooling
- G (Green) - Fan
- C (Common) - Required for some digital thermostats
5. **Attach Thermostat Cover**: Snap or screw the thermostat cover onto the base, ensuring it is securely attached.
6. **Restore Power**: Turn the power back on at the circuit breaker.
7. **Configure Thermostat**: Follow the manufacturer’s instructions to set up the thermostat. This may include setting the date and time, programming temperature schedules, and connecting to Wi-Fi if it’s a smart thermostat.
8. **Test the System**: Adjust the thermostat settings to test heating and cooling functions, ensuring the system responds appropriately.
9. **Finalize Installation**: Make any necessary adjustments to the settings for optimal comfort and efficiency.
Always refer to the specific installation manual provided with your thermostat for detailed instructions and safety precautions.
How do I troubleshoot a malfunctioning thermostat?
1. **Check Power Supply**: Ensure the thermostat is receiving power. Check circuit breakers and fuses. Replace batteries if it's battery-operated.
2. **Inspect Settings**: Verify that the thermostat is set to the correct mode (heat/cool) and the desired temperature is set correctly.
3. **Examine Wiring**: Turn off power and remove the thermostat cover. Check for loose, disconnected, or corroded wires. Tighten connections and ensure wires are correctly placed.
4. **Calibrate Thermostat**: Use a thermometer to compare room temperature with the thermostat reading. If there's a discrepancy, recalibrate according to the manufacturer's instructions.
5. **Clean Unit**: Dust and debris can affect performance. Gently clean the inside of the thermostat with a soft brush or compressed air.
6. **Check for Obstructions**: Ensure the thermostat is not blocked by furniture or curtains, which can affect temperature readings.
7. **Test Components**: If applicable, test the heating/cooling system by manually activating it. Listen for unusual noises or lack of response.
8. **Inspect HVAC System**: Check filters, vents, and ducts for blockages or issues that might affect performance.
9. **Reset Thermostat**: Reset the thermostat to factory settings to resolve software glitches. Refer to the manual for instructions.
10. **Consult Manual**: Refer to the thermostat’s manual for troubleshooting tips specific to your model.
11. **Professional Help**: If issues persist, contact a professional HVAC technician to diagnose and fix the problem.
What are the benefits of using a programmable thermostat?
A programmable thermostat offers several benefits that enhance comfort, efficiency, and cost savings. Firstly, it allows for automatic temperature adjustments based on pre-set schedules, ensuring optimal comfort without manual intervention. This feature is particularly useful for maintaining different temperatures during various times of the day, such as cooler settings at night or warmer settings during the day when the house is occupied.
Energy efficiency is another significant advantage. By reducing heating and cooling when not needed, such as during work hours or vacations, a programmable thermostat can significantly lower energy consumption. This reduction in energy use translates to cost savings on utility bills, making it an economically wise investment.
Moreover, programmable thermostats contribute to environmental sustainability by minimizing energy waste, thus reducing the carbon footprint of a household. Many models also offer advanced features like remote access via smartphone apps, allowing users to adjust settings from anywhere, providing flexibility and control.
Additionally, some programmable thermostats can learn user preferences over time, optimizing settings for maximum comfort and efficiency. They can also provide maintenance reminders, such as when to change air filters, ensuring the HVAC system operates efficiently and prolonging its lifespan.
Overall, a programmable thermostat enhances convenience, promotes energy conservation, reduces costs, and supports environmental responsibility, making it a valuable addition to any home.
How do I choose the right thermostat for my HVAC system?
1. **Compatibility**: Ensure the thermostat is compatible with your HVAC system type (e.g., central heating, heat pump, or multi-stage systems).
2. **Type of Thermostat**: Choose between programmable, non-programmable, smart, or Wi-Fi thermostats based on your lifestyle and preferences.
3. **Features**: Consider features like remote access, learning capabilities, energy reports, and integration with smart home systems.
4. **Ease of Use**: Look for a user-friendly interface with clear displays and intuitive controls.
5. **Installation**: Decide if you want a DIY installation or professional help. Some thermostats are easier to install than others.
6. **Budget**: Determine your budget, balancing upfront costs with potential energy savings.
7. **Brand and Reviews**: Research reputable brands and read customer reviews for reliability and performance insights.
8. **Zoning Capabilities**: If you have a zoned HVAC system, ensure the thermostat supports multiple zones.
9. **Energy Efficiency**: Look for thermostats with energy-saving features to reduce utility bills.
10. **Warranty and Support**: Check the warranty period and availability of customer support for troubleshooting.
11. **Aesthetics**: Consider the design and how it fits with your home decor.
12. **Local Climate**: Choose a thermostat that can handle your local climate conditions effectively.
13. **Future-Proofing**: Opt for a model that can accommodate future upgrades or expansions in your HVAC system.
How can I improve the accuracy of my thermostat?
1. **Calibration**: Regularly calibrate your thermostat to ensure it reads the correct temperature. Refer to the manufacturer's instructions for proper calibration procedures.
2. **Placement**: Ensure the thermostat is placed away from direct sunlight, drafts, doorways, windows, and heat sources like lamps or appliances. It should be located on an interior wall for the most accurate readings.
3. **Level Installation**: Make sure the thermostat is level on the wall. An uneven installation can affect the internal components and lead to inaccurate readings.
4. **Clean Regularly**: Dust and debris can interfere with the thermostat’s sensors. Clean the thermostat regularly, especially if it’s an older model with mechanical parts.
5. **Upgrade**: Consider upgrading to a smart thermostat. These devices often have more accurate sensors and can learn your schedule to optimize heating and cooling.
6. **Check Wiring**: Ensure that the wiring is correctly connected and in good condition. Loose or corroded wires can cause inaccurate readings.
7. **Battery Replacement**: If your thermostat uses batteries, replace them regularly to ensure it functions correctly.
8. **Software Updates**: For digital or smart thermostats, ensure the software is up to date to benefit from the latest features and improvements.
9. **Insulation**: Improve home insulation to reduce temperature fluctuations that can affect thermostat accuracy.
10. **Professional Inspection**: Have a professional HVAC technician inspect your system periodically to ensure everything is functioning correctly and efficiently.
11. **Temperature Offset**: Some thermostats allow you to set a temperature offset if you consistently notice a discrepancy between the thermostat reading and the actual room temperature. Adjust this setting as needed.