.....Read More

Frequently Asked Questions

What is the difference between RMC, IMC, and EMT conduit?

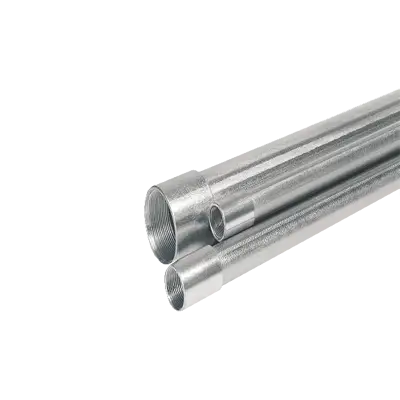
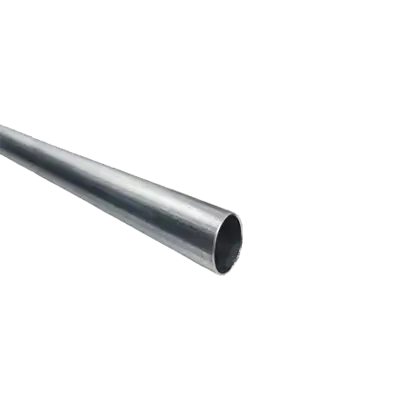
RMC (Rigid Metal Conduit), IMC (Intermediate Metal Conduit), and EMT (Electrical Metallic Tubing) are types of electrical conduits used to protect and route electrical wiring. 1. **RMC (Rigid Metal Conduit):** - **Material:** Typically made of galvanized steel or aluminum. - **Thickness:** Thickest among the three, providing maximum protection. - **Weight:** Heaviest, making it more challenging to install. - **Applications:** Suitable for outdoor and industrial environments where high protection is needed. - **Connections:** Uses threaded fittings for secure connections. - **Cost:** Generally the most expensive due to its durability and material. 2. **IMC (Intermediate Metal Conduit):** - **Material:** Made of galvanized steel. - **Thickness:** Thinner than RMC but thicker than EMT, offering a balance between strength and weight. - **Weight:** Lighter than RMC, easier to handle and install. - **Applications:** Used in both indoor and outdoor settings, offering good protection with less weight. - **Connections:** Can be threaded or use compression fittings. - **Cost:** Less expensive than RMC but more than EMT. 3. **EMT (Electrical Metallic Tubing):** - **Material:** Made of galvanized steel or aluminum. - **Thickness:** Thinnest, providing less protection but more flexibility. - **Weight:** Lightest, making it easy to install and bend. - **Applications:** Commonly used indoors in commercial and residential buildings. - **Connections:** Uses compression or set-screw fittings, not threaded. - **Cost:** Least expensive, suitable for applications where heavy-duty protection is not required. Each type of conduit is chosen based on the specific requirements of the installation environment, balancing factors like protection, weight, ease of installation, and cost.

How do you bend EMT conduit?

To bend EMT (Electrical Metallic Tubing) conduit, follow these steps: 1. **Tools Required**: Obtain a conduit bender suitable for the EMT size you are working with. Ensure you have a tape measure, marker, and level. 2. **Measure and Mark**: Determine the length and angle of the bend needed. Use a tape measure to mark the conduit at the point where the bend will start. Mark the direction of the bend with an arrow. 3. **Position the Conduit**: Place the conduit on the floor or a stable surface. Insert the conduit into the bender with the mark aligned to the bender's arrow or notch, which indicates the start of the bend. 4. **Foot Placement**: Stand on the bender's foot pedal to secure it. Ensure your foot is firmly placed to prevent slipping. 5. **Bend the Conduit**: Pull the handle of the bender towards you while keeping the conduit in place with your foot. Apply steady pressure to achieve a smooth bend. Use the level to check the angle as you bend, ensuring it matches your requirements. 6. **Check the Bend**: Once the desired angle is reached, remove the conduit from the bender. Use the level to verify the accuracy of the bend. Adjust if necessary by applying slight pressure in the opposite direction. 7. **Repeat if Necessary**: For multiple bends, repeat the process, ensuring each bend is accurately measured and marked. 8. **Safety Precautions**: Always wear safety glasses and gloves to protect against metal shards and sharp edges. By following these steps, you can effectively bend EMT conduit to fit your electrical installation needs.

What are the specific fittings used for each type of metal conduit?

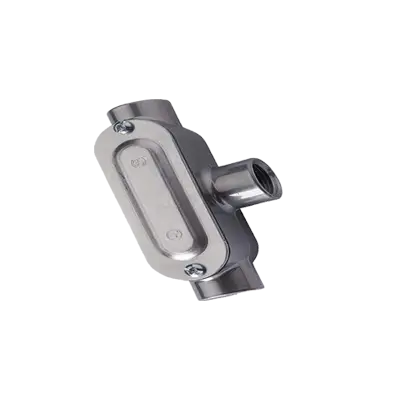
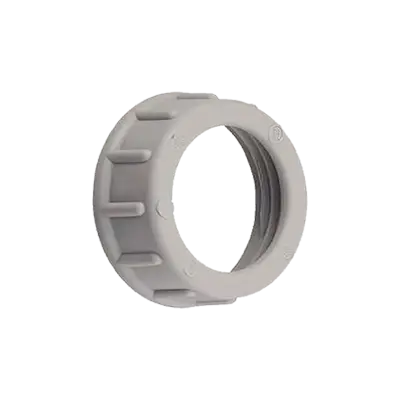
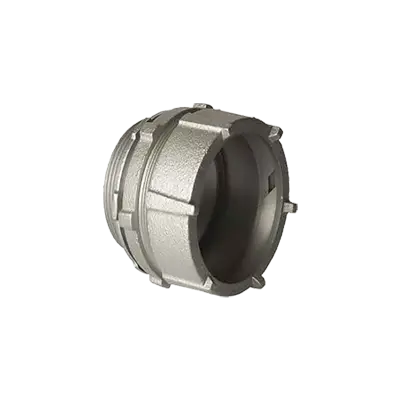
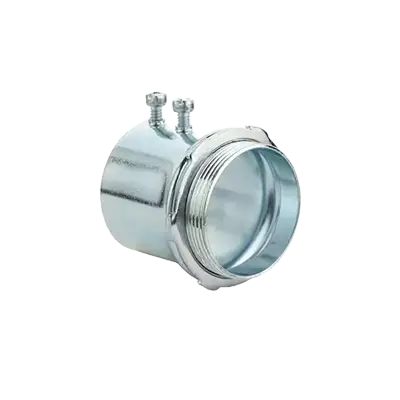
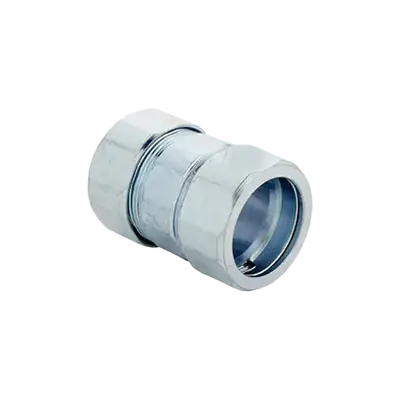
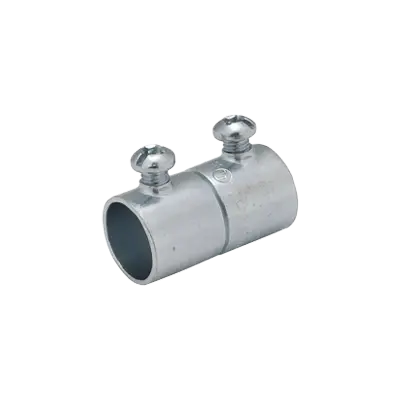
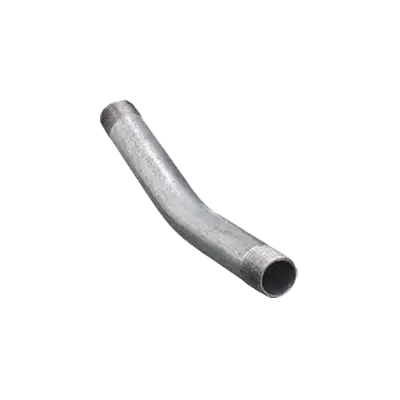
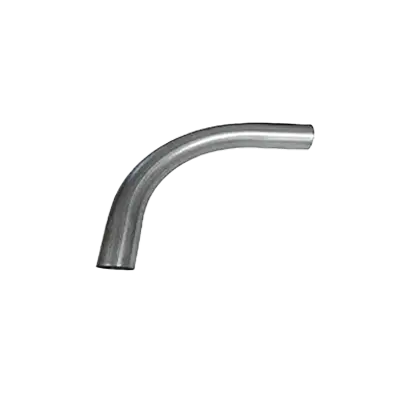
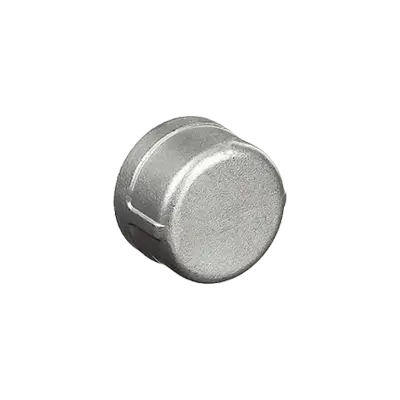
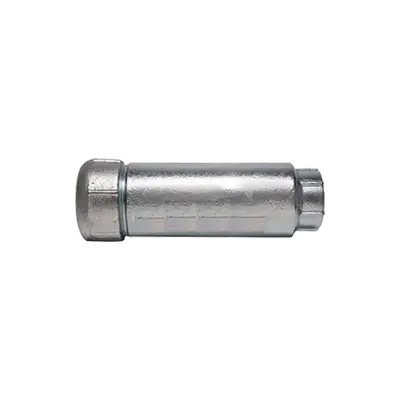
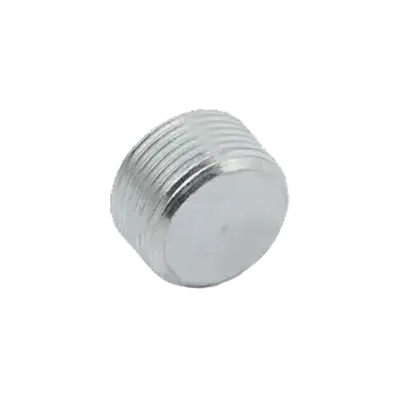
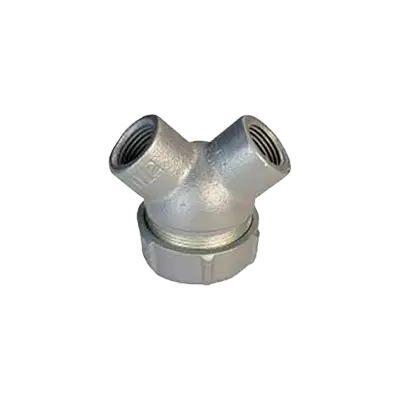
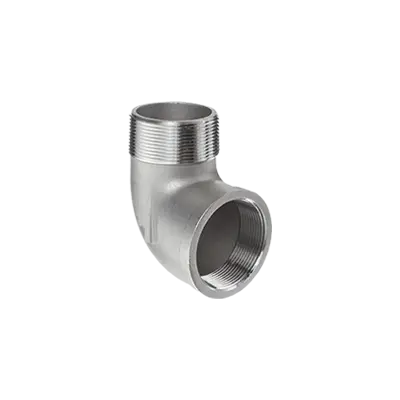
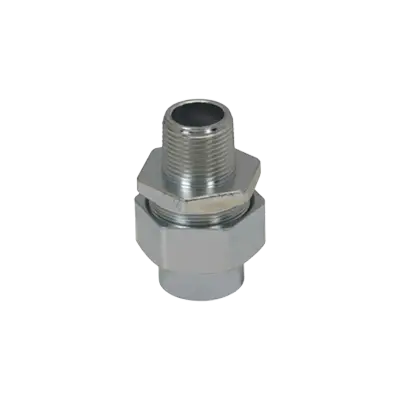
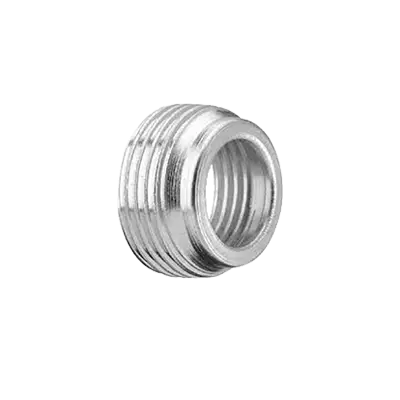
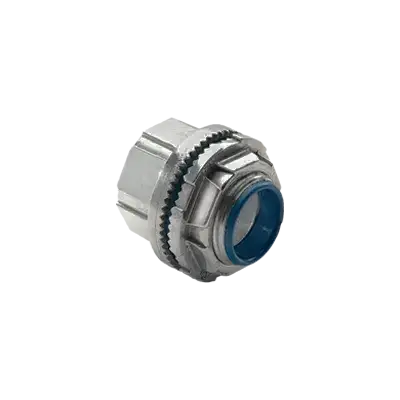
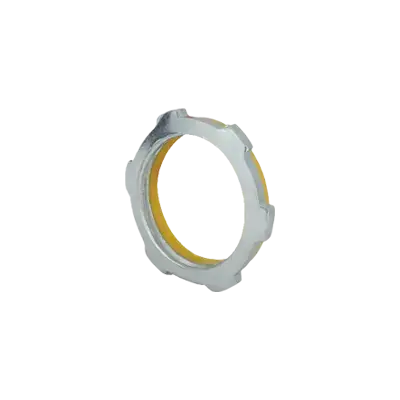
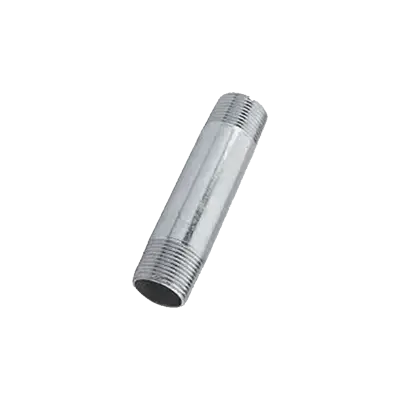
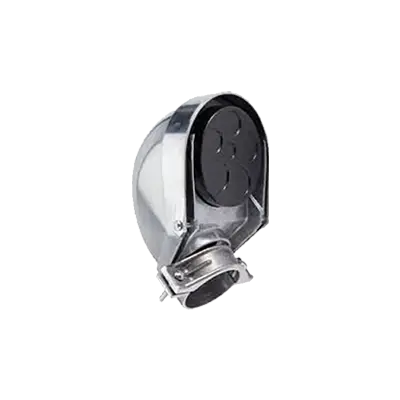
For metal conduits, specific fittings are used to ensure secure connections and proper functionality. Here are the fittings for each type: 1. **Rigid Metal Conduit (RMC):** - **Couplings:** Threaded couplings connect two lengths of RMC. - **Elbows:** Pre-bent sections for directional changes. - **Connectors:** Secure RMC to boxes or enclosures. - **Locknuts and Bushings:** Provide secure connections and protect wires from sharp edges. 2. **Intermediate Metal Conduit (IMC):** - **Couplings:** Threaded or compression couplings for joining sections. - **Elbows:** Used for directional changes. - **Connectors:** Attach IMC to boxes or panels. - **Locknuts and Bushings:** Ensure secure connections and protect conductors. 3. **Electrical Metallic Tubing (EMT):** - **Compression and Set-Screw Couplings:** Join EMT sections. - **Elbows:** Facilitate directional changes. - **Compression and Set-Screw Connectors:** Attach EMT to boxes or enclosures. - **Straps and Clamps:** Secure EMT to surfaces. 4. **Flexible Metal Conduit (FMC):** - **Couplings:** Connect FMC sections or to rigid conduits. - **Connectors:** Attach FMC to boxes or enclosures. - **Strain Relief Fittings:** Prevent damage from movement or vibration. 5. **Liquidtight Flexible Metal Conduit (LFMC):** - **Liquidtight Connectors:** Ensure watertight connections to boxes or enclosures. - **Liquidtight Couplings:** Join sections while maintaining a watertight seal. - **Strain Relief Fittings:** Protect against movement and vibration. Each fitting type is designed to maintain the integrity and safety of the electrical system, ensuring proper grounding and protection against environmental factors.

How do you join metal conduit to enclosures and devices?

To join metal conduit to enclosures and devices, follow these steps: 1. **Select the Right Conduit and Fittings**: Choose the appropriate type of metal conduit (e.g., EMT, RMC, or IMC) and corresponding fittings based on the application and environment. 2. **Cut and Prepare the Conduit**: Measure and cut the conduit to the required length using a hacksaw or conduit cutter. Deburr the edges to remove sharp edges and ensure a smooth fit. 3. **Install Conduit Connectors**: Attach conduit connectors to the ends of the conduit. These connectors are designed to secure the conduit to the enclosure or device. Ensure the connectors are compatible with the conduit type. 4. **Attach Locknuts**: Slide a locknut onto the threaded end of the connector. The locknut will secure the connector to the enclosure or device. 5. **Insert into Enclosure or Device**: Insert the threaded end of the connector through the knockout hole in the enclosure or device. Ensure the connector fits snugly. 6. **Tighten Locknuts**: From inside the enclosure, thread the locknut onto the connector and tighten it securely using pliers or a wrench. This ensures a firm connection and maintains electrical continuity. 7. **Use Bushings**: For added protection, especially with RMC or IMC, install insulating bushings on the ends of the conduit inside the enclosure to protect wires from abrasion. 8. **Secure the Conduit**: Use conduit straps or clamps to secure the conduit to walls or other structures, maintaining proper alignment and support. 9. **Check Grounding**: Ensure the conduit system is properly grounded. Metal conduit often serves as a grounding path, so connections must be tight and secure. 10. **Inspect the Installation**: Verify that all connections are tight, secure, and compliant with local electrical codes and standards.

What are access fittings and when are they used?

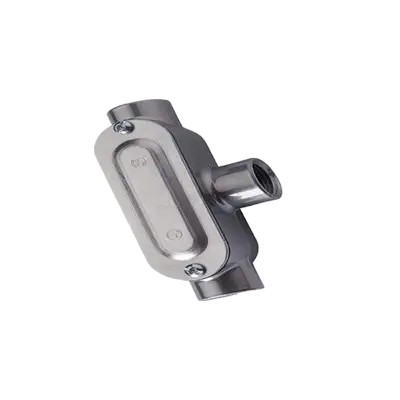
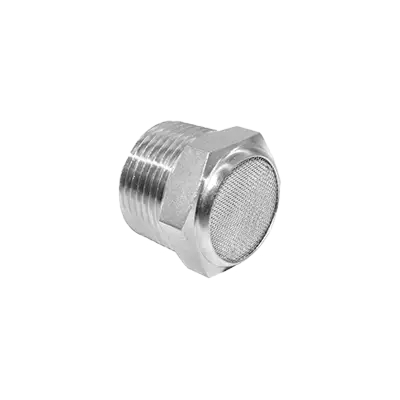
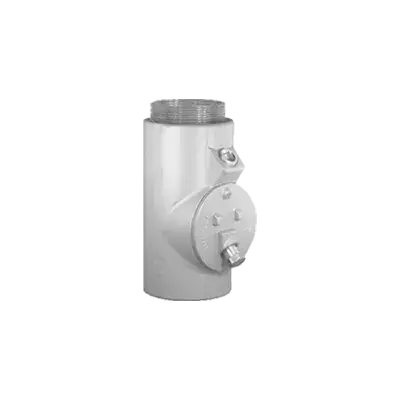
Access fittings are specialized components used in piping and process systems to provide entry points for inspection, maintenance, or the insertion of instruments and probes. They are designed to allow access to the interior of a pipeline or vessel without requiring the system to be shut down or depressurized, thus minimizing operational disruptions. Access fittings are commonly used in industries such as oil and gas, chemical processing, and water treatment. They are essential for corrosion monitoring, where probes or coupons are inserted to measure the rate of corrosion within a pipeline. These fittings can also be used for sampling, where a sample of the fluid within the system is extracted for analysis, or for the insertion of temperature and pressure sensors to monitor process conditions. Typically, access fittings are installed at strategic points along a pipeline or vessel. They consist of a body that is welded or threaded into the system, a cover or plug that seals the fitting, and a mechanism for inserting and retrieving the desired instrument or probe. Some access fittings are designed to be used with retrieval tools, allowing for the safe removal and replacement of probes under pressure. The use of access fittings is crucial for maintaining the integrity and efficiency of industrial systems. By enabling regular monitoring and maintenance without system shutdowns, they help prevent leaks, failures, and costly downtime. Access fittings must be carefully selected and installed to ensure compatibility with the system's pressure, temperature, and chemical environment, and they must comply with relevant industry standards and regulations.

How do you cut metal conduit?

To cut metal conduit, follow these steps: 1. **Measure and Mark**: Use a tape measure to determine the desired length of the conduit. Mark the cutting point with a permanent marker or scribe for accuracy. 2. **Secure the Conduit**: Place the conduit in a vise or use clamps to hold it steady on a workbench. Ensure it is secure to prevent movement during cutting. 3. **Select the Cutting Tool**: Choose an appropriate tool based on the type and thickness of the conduit. Common tools include a hacksaw, pipe cutter, or reciprocating saw. For thin-walled conduit like EMT, a pipe cutter is often preferred for a clean cut. For thicker conduit like rigid metal conduit (RMC), a hacksaw or reciprocating saw with a metal-cutting blade is suitable. 4. **Cut the Conduit**: - **Hacksaw**: Position the blade on the marked line and use steady, even strokes. Apply gentle pressure to avoid bending the conduit. - **Pipe Cutter**: Place the cutter around the conduit, aligning the cutting wheel with the mark. Tighten the cutter and rotate it around the conduit, gradually tightening until the cut is complete. - **Reciprocating Saw**: Fit the saw with a metal-cutting blade. Align the blade with the mark and cut through the conduit with controlled, steady pressure. 5. **Deburr the Edges**: After cutting, use a deburring tool, file, or reamer to smooth the inside and outside edges of the cut. This prevents injury and ensures the conduit fits properly with connectors. 6. **Clean Up**: Wipe the conduit with a cloth to remove any metal shavings or debris. By following these steps, you can effectively cut metal conduit to the desired length while ensuring safety and precision.

What are the applications for heavy-wall RMC and medium-wall IMC conduit?

Heavy-wall Rigid Metal Conduit (RMC) and medium-wall Intermediate Metal Conduit (IMC) are used in electrical installations to protect and route electrical wiring. Heavy-wall RMC is typically used in environments where maximum protection is required. Its applications include: 1. **Industrial Settings**: RMC is ideal for factories and plants where machinery and equipment may pose a risk to electrical systems. 2. **Outdoor Installations**: It is used in outdoor environments due to its durability against weather conditions. 3. **Hazardous Locations**: RMC is suitable for areas with flammable gases or vapors, as it provides a high level of protection. 4. **Underground Installations**: It can be used in direct burial applications, offering robust protection against physical damage. 5. **Corrosive Environments**: With appropriate coatings, RMC can be used in chemical plants or coastal areas to resist corrosion. Medium-wall IMC is lighter and easier to handle than RMC, making it suitable for: 1. **Commercial Buildings**: IMC is often used in commercial settings where a balance between protection and ease of installation is needed. 2. **Residential Installations**: It can be used in residential buildings for both interior and exterior applications. 3. **Above-Ground Applications**: IMC is suitable for above-ground installations where moderate protection is sufficient. 4. **Cost-Effective Projects**: It offers a cost-effective alternative to RMC while still providing adequate protection. 5. **Retrofit Projects**: Due to its lighter weight, IMC is easier to install in existing structures during upgrades or renovations. Both RMC and IMC are essential in ensuring the safety and integrity of electrical systems across various environments, with RMC offering maximum protection and IMC providing a balance of protection and ease of installation.